


English – 39
3
1
2
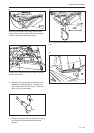
IMPORTANT INFORMATION
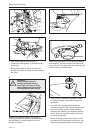
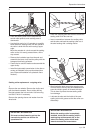
Before the sealing collar is completely
installed, check that the sealing collar's
metal spring reinforcement sits on the
side of the sealing collar which leads
inwards towards the transmission.
Reparation instructions
• Place the sealing collar on the axle with the
smooth side upwards, and
carefully
press it
downwards.
• Use the thick end of a 1/4" extender to
carefully
knock down the sealing collar until the upside of
the collar is level with the axle housing's upper
edge.
Move the extender in a circle around the sealing
collar so that it is evenly pressed down, all the
way around.
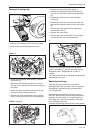
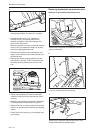
• Remove the insulation tape from the axle and
assemble the lower circlip and the pulley with the
hexagonal hub facing upwards.
• Fasten the fan and the washer and assemble the
upper circlip.
• Install the hydrostatic transmission in the ride-on
mower as indicated in the previous description
(see “Removal/installation of hydrostatic trans-
mission”).
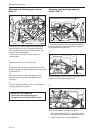
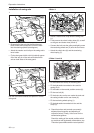
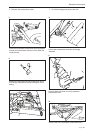
Sealing collar replacement - outgoing axles
Remove the rear wheels. Remove the circlips and
pull the wheels outwards. Do not mislay the key
that sits between the hub and axle. Use removing
tool 506 57 00-01 if necessary.
Remove the spacing sleeve and washer from the
wheel axle.
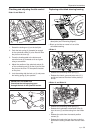
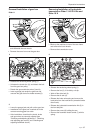
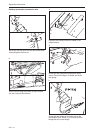
IMPORTANT INFORMATION
Dirt must not be allowed to get into the
transmission as this can shorten its
operational life.
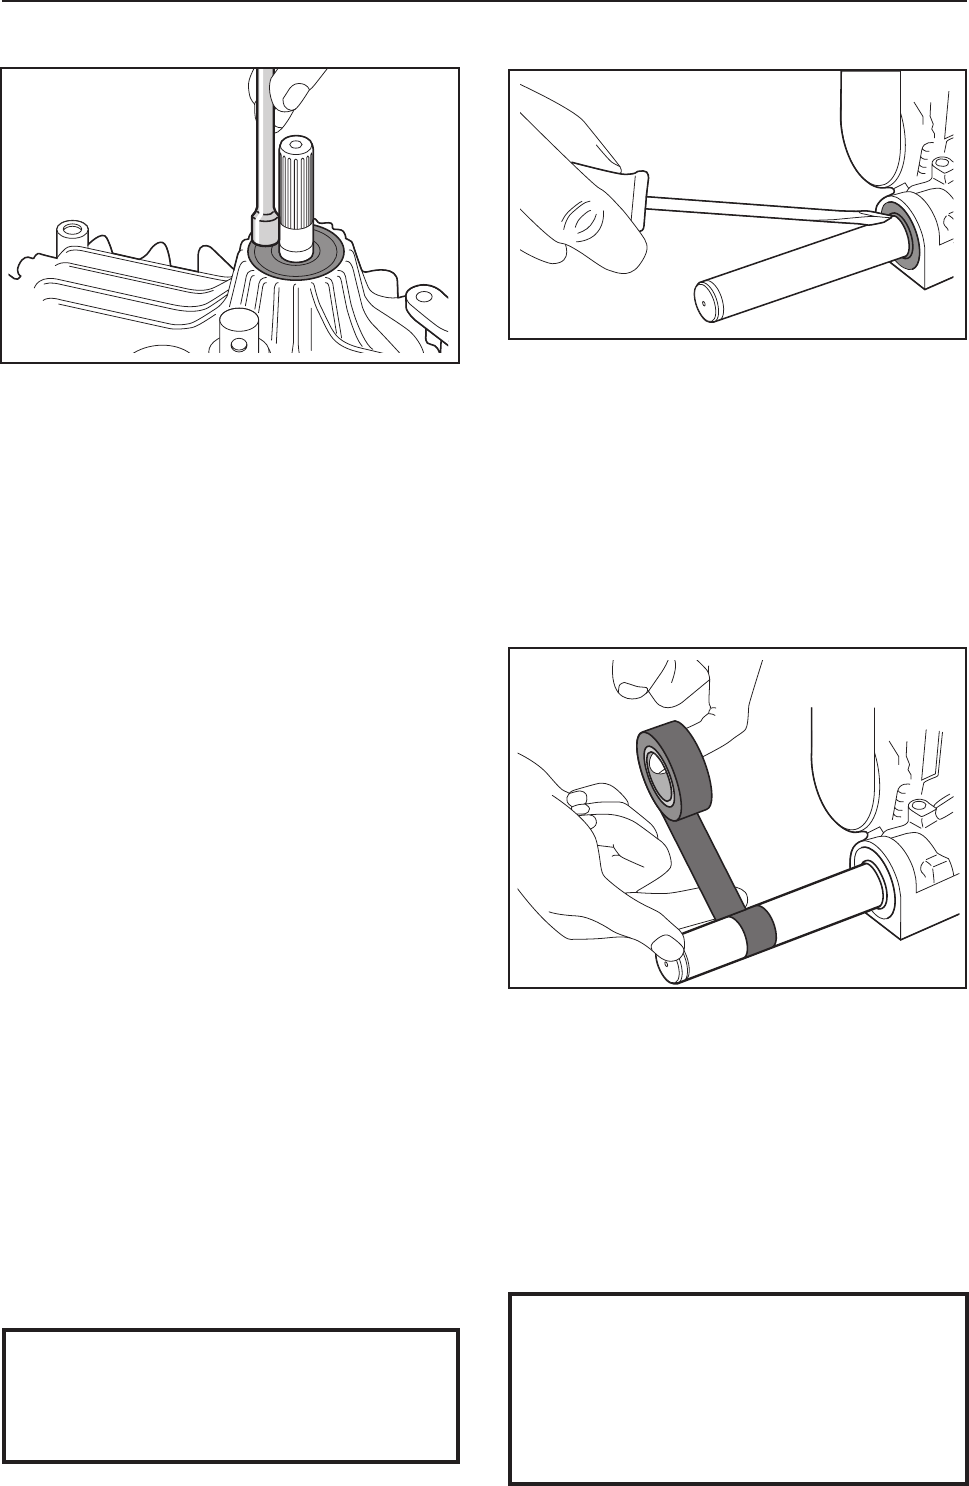
• Wrap insulation tape around the outgoing axle
from the start of the key-way and outwards until
even the circlip's groove is covered with tape.
This is done to protect the new sealing collar
from damage.
• Lubricate the axle and the inside of the new
sealing collar with grease so that the collar can
slide easily.
• Clean the outgoing axle and the area around the
sealing collar of all dirt and rust.
• Insert a screwdriver between the sealing collar
and the axle and bend the sealing collar out of
the axle housing with a twisting motion.