


English – 31
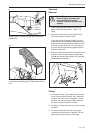
Reparation instructions
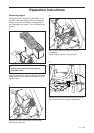
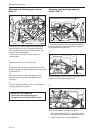
Checking and adjusting brake wire
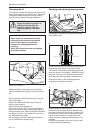
Rider 11
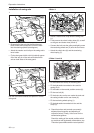
Check that the brake is correctly adjusted by
measuring the distance between the brake lever
and the front edge of the recess on the chassis.
The distance should be 0–1 mm/0-0,040" when the
brake is not applied.
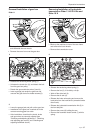
1. Remove the lock nuts (1).
2. Stretch the wire with the adjuster screw (2) so
that the distance between the brake lever and
the front edge of the recess on the chassis is 1
mm/0,040".
3. Tighten the lock nuts (1) after adjustment.
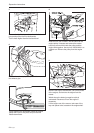
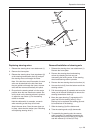
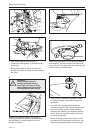
When the brake wire has been adjusted, check
that the brake lever does not have too much
movement. If the lever's free movement
exceeds 9 mm/3/8", this should be adjusted by
tightening the nut on the brake lever.
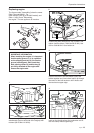
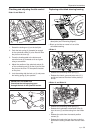
Rider 13 and Rider 16
Check that the brake is correctly adjusted by
positioning the ride-on mower on a gentle slope and
applying the brake.
If the ride-on mower does not stand still, the brake
needs to be adjusted.
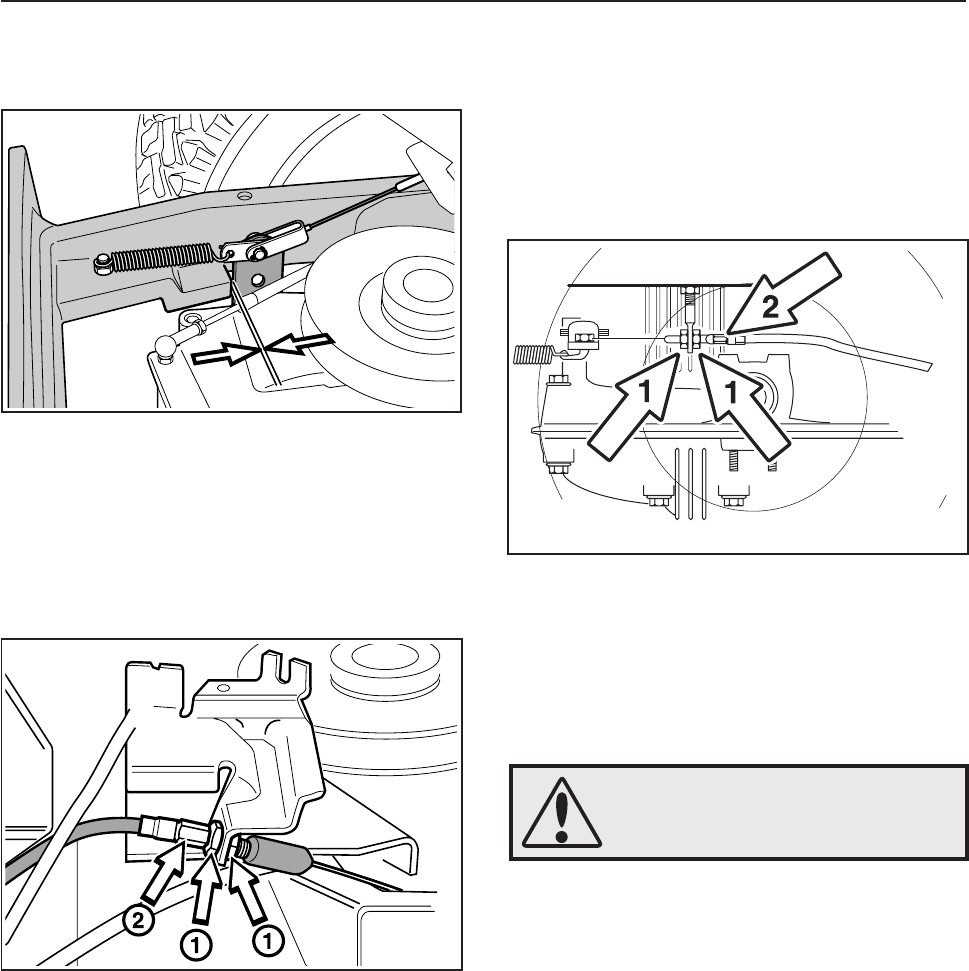
The brake is adjusted in the following way:
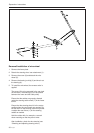
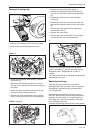
1. Release the lock nuts (1).
2. Stretch the wire with the adjuster screw (2) until
all the play in the wire disappears.
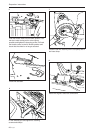
3. Tighten the lock nuts (1) and finally check that
the brake is correctly adjusted.
WARNING!
A badly adjusted brake can lead
to reduced braking capacity.