


38 – English
4
3
1
2
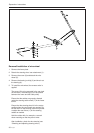
IMPORTANT INFORMATION
The area around the sealing collar must be
absolutely clean! If the hydrostatic oil is
contaminated with dirt, this can lead to a
shorter hydrostatic transmission
operational life.
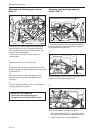
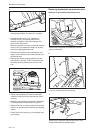
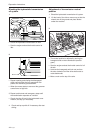
Reparation instructions
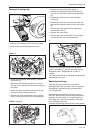
Insert a garage jack under the hydrostatic trans-
mission and loosen its five holder screws.
• Lower the garage jack and pull out the
hydrostatic transmission.
• Installation of the hydrostatic transmission is
carried out in the reverse hydrostatic transmis-
sion removing order
• After fitting the brake wire and hydrostatic
transmission wires, check that they are
correctly adjusted (see “Inspection and
adjustment of brake wire” and “Inspection and
adjustment of speed control”). Check also the
oil level in the hydrostatic transmission, and top
up if necessary. Check the setting of the
neutral position switch on machines with
hydrostatic transmission, see ”Electrical
system\Microswitch neutral position”.
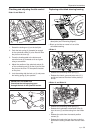
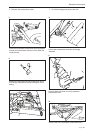
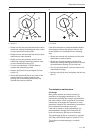
Replacing hydrostatic transmission axle
sealing collars
Sealing collar replacement - input axle
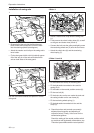
Remove the cooling fan, it is held by a circlip. Rem-
ove the pulley from the input axle by pulling it
upwards and then removing the circlip under the
pulley.
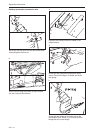
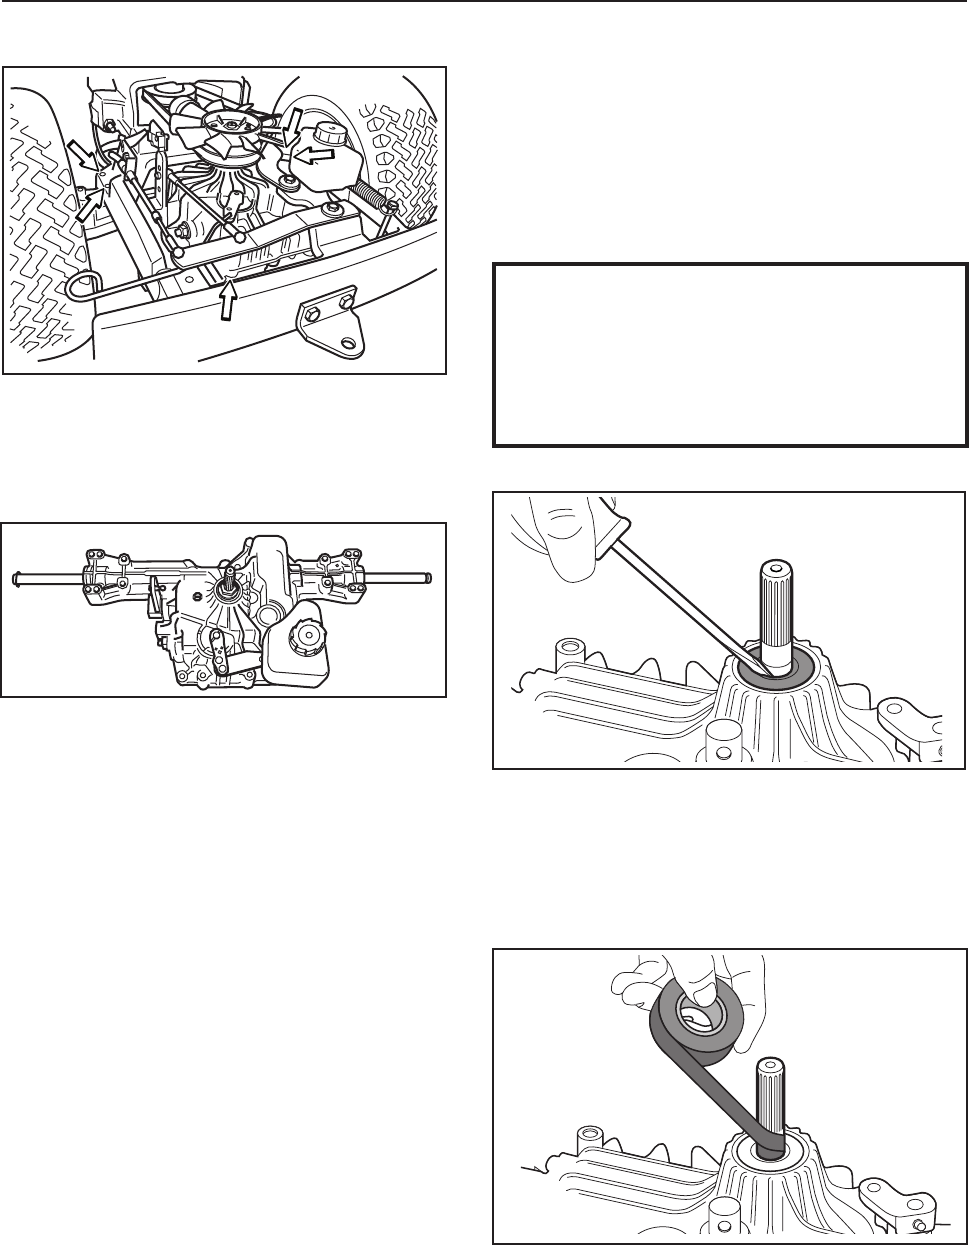
• Clean the input axle and the area around the
sealing collar of all dirt and rust.
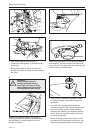
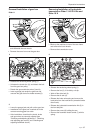
• Insert a screwdriver between the sealing collar and
the axle and bend the sealing collar out of the axle
housing with a twisting motion.
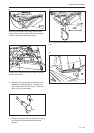
• Wrap insulation tape around the input axle to
protect the new sealing collar from damage to
splines and grooves.
Start by wrapping from the bottom and continue
upwards over the axle until the entire axle is
wrapped in tape.
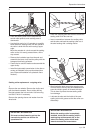
• Lubricate the axle and the inside of the new
sealing collar with grease so that the collar can
slide easily.