


6
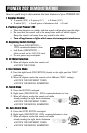
PIONEER 202 DEMONSTRATION
Here is a quick way to demonstrate the basic features of your PIONEER 202.
I. Supplies Needed
• A quarter (25¢) • A penny (1¢) • A dime (10¢)
• A nickel (5¢) • Small piece of aluminum foil • A nail
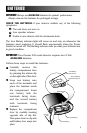
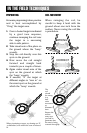
II. Position your Pioneer 202
• Place the detector on a table, with the search coil hanging over the edge.
• Be sure that the search coil is far away from walls or metal objects.
Keep the search coil away from any metal in the table.
• Turn off appliances or lights which cause electromagnetic interference
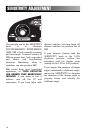
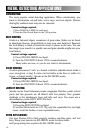
III. Beginning Switch Settings
• Right Knob (DISC/NOTCH) —
100% counterclockwise to low
• Left Knob (SENSITIVITY) —
click on and set to 3:00 (3/4 turn)
• Do not press any touchpads
IV. All Metal Detection
A. Wave all objects under the search coil
• NOTICE THE TONES
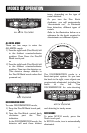
V. Discriminate Mode
A. Turn the right knob (DISC/NOTCH) slowly to the right past the "DISC"
indication.
B. Wave all objects under the search coil at different "DISC" settings.
• NOTICE THE DIFFERENT TONES
• NOTICE THE METALS ELIMINATED
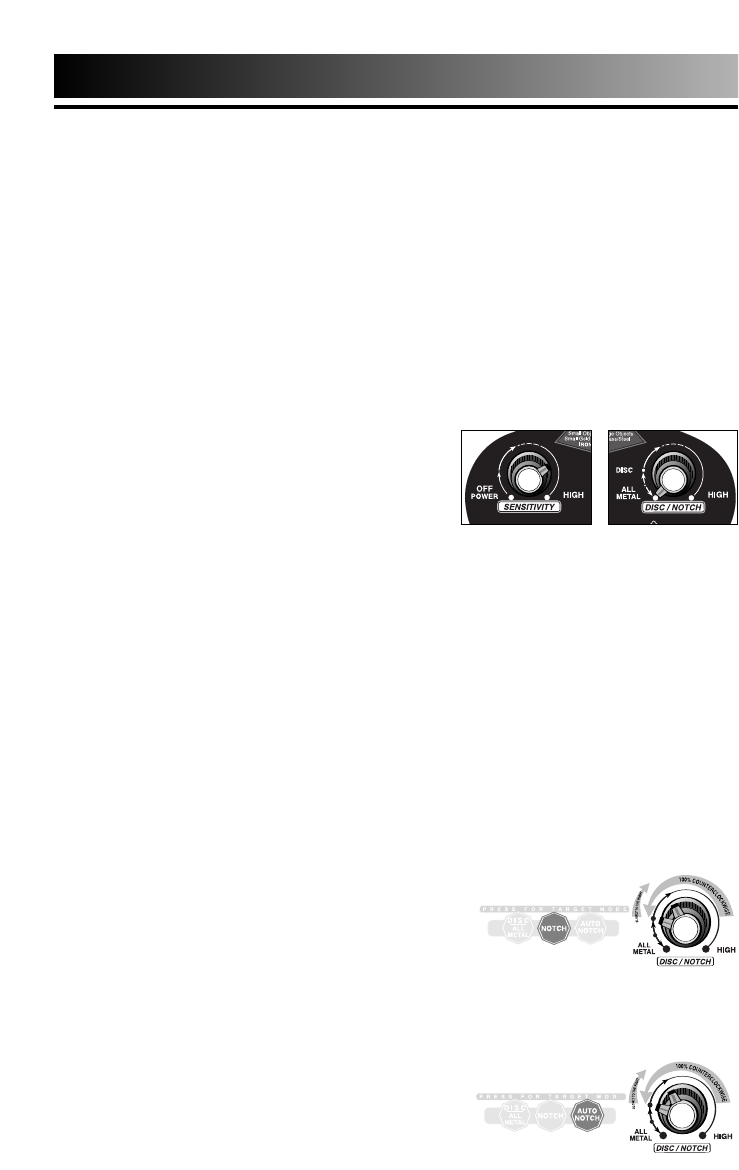
VI. Notch Mode
A. Press the NOTCH touchpad
B. Right knob (DISC/NOTCH) 100% counterclockwise to low
C. Wave all objects under the search coil while
slowly turning the right knob clockwise.
• NOTICE THE DIFFERENT TONES
• NOTICE THE METALS ELIMINATED
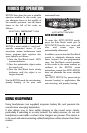
VII. Auto Notch Mode
A. Press the AUTO NOTCH touchpad
B. Right knob (DISC/NOTCH) 100% counterclockwise to low
C. Wave all objects under the search coil while
slowly turning the right knob clockwise.
• NOTICE THE DIFFERENT TONES
• NOTICE THE METALS ELIMINATED