


Thank you for selecting American-Standard...the benchmark
of fine quality for over 100 years.
To ensure that your installation proceeds smoothly--please
read these instructions carefully before you begin.
Certified to comply with ANSI A112.18.1
Installation
Instructions
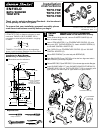
BATH/SHOWER
TRIM KITS
T373.742
T373.741
T373.740
FINISHED WALL
4"
BOTTOM OF TUB
5-1/8" REF.
7-7/8" REF.
18" OPTIONAL
5-3/4" REF.
1/2" NPT
1/2" NPT
9-1/2"
TWIN ELL
1" MIN.
OPTIONAL TO FINISHED
FLOOR USUALLY
BETWEEN 74'' AND 80''
FOR HEAD CLEARANCE
1" MIN.
TOP OF
TUB RIM
Dimensions are for reference.
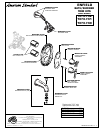
ROUGHING-IN DIMENSIONS
Installation for Bath/Shower,
Shower only, or Valve only Trim.
Required Tools
Flat Blade Screwdriver
Adjustable Wrench
Phillips Screwdriver
M968294 REV 1.1
ENFIELD
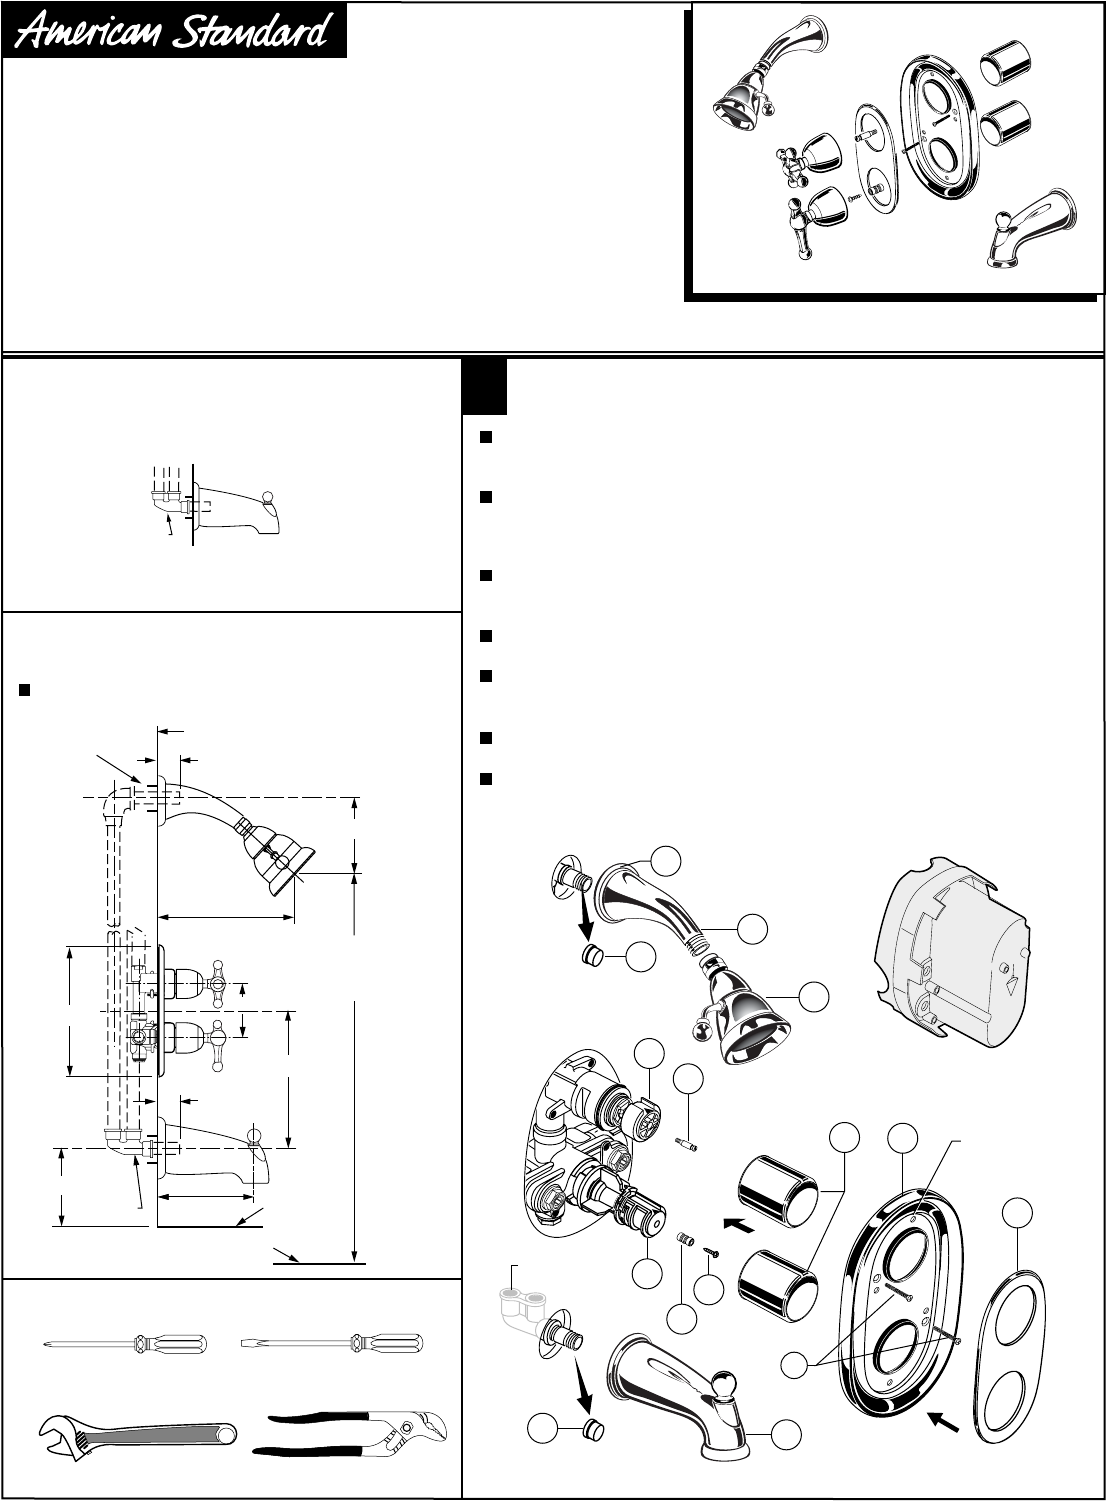
1
INSTALL
TRIM
When finished tiling the wall, remove PLASTER GUARD (A) and
turn off water supply.
Attach STEM ADAPTER (1) to TEMPERATURE CONTROL (2) valve
stem with SELF TAPPING SCREW (3). Attach HANDLE SCREW (4)
to VOLUME CONTROL ADAPTER (5).
Push CAPS (6) onto TEMPERATURE CONTROL (2) and VOLUME
CONTROL ADAPTER (5).
Mount ESCUTCHEON (7) to valve body with SCREWS (8).
Push DIAL PLATE (9) over CAPS (6) and into the four alignment holes in
ESCUTCHEON (7) and snap into place.
Remove PIPE CAP (10) and PIPE CAP (11) from shower pipe and tub filler pipe.
Install SHOWER ARM (17) with SHOWER ARM ESCUTCHEON (18),
SHOWER HEAD (12) and TUB FILLER SPOUT (13) by threading onto
pipe nipples. Use teflon tape or pipe sealant on pipe threads.
CAUTION: Protect finish on SHOWER ARM,
SHOWER HEAD and TUB SPOUT when installing.
ATTENTION:
17
12
10
18
If TRIM T373.742 or diverter tub spout is used
make sure TWIN ELL (B) P/N 8888.120 is
connected to valve body as indicated in roughing-
in sketch.
TWIN ELL P/N 8888.120 can be ordered as
shown in the American Standard List Price Book
Channel Locks
4"
TOP
8
(4) ALIGNMENT
HOLES FOR
DIAL PLATE
9
7
2
5
4
1
3
6
11
13
PLASTER GUARD (A)
TWIN ELL (B)